Create project
Overview
When developing a .NET DLL extension, you create a new project in Visual Studio and prepare the necessary files within that project.
For example, when developing an extension named MyExtension using the .NET DLL method, the following file structure is the basic structure:
src/
MyExtension.sln
MyExtension/
MyExtension.csproj
manifest.json
main.cs
resources/
button.png
To create a new project, you can choose one of the following methods:
- Create a project using a project template.
- Create a project manually.
To develop extensions, you need to install the .NET 10.0 SDK.
Creating a Project Using a Project Template
When developing with Visual Studio, using the Next Design extension development project template significantly reduces the workload compared to the manual project creation method described below, so its use is recommended.
Installation
Installation is required the first time you use a project template. Execute the following command from the command prompt. The directory where you execute this command doesn't matter.
dotnet new --install NextDesign.Extension.ProjectTemplates
Creating a New Project
Once the template is installed, you can create a project from Visual Studio. Launch Visual Studio and select "Extension Development Project" from the New Project dialog.
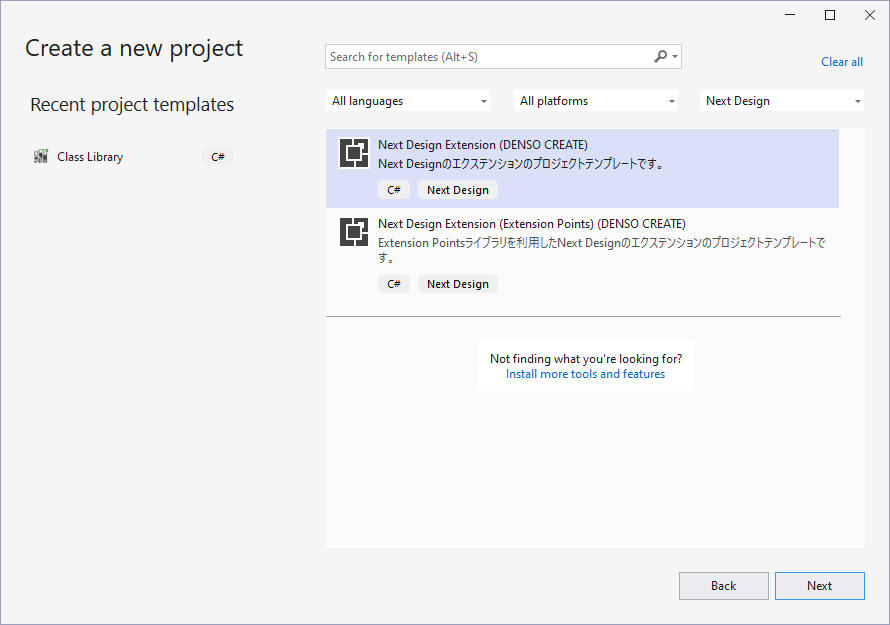
Two types of project templates are available; select Next Design Extension to create your project.
-
Next Design Extension ... This is the standard extension development project.
-
Next Design Extension (Extension Points) ... This project uses the ExtensionPoints library, which makes defining extension points very simple.
- This topic assumes the use of standard extensions, but using the
Next Design Extension (Extension Points)template simplifies the development of manifest definitions and handler implementations. See the ExtensionPoints library for details.
When you create a project, you will get a project that includes a manifest file and a sample implementation of the extension, as shown below.

Creating a Project Manually
The following explains how to create a new Visual Studio project and prepare the necessary files in the following order.
- Create a new project
- Register the DLL for extension development
- Prepare the manifest file
Create a new project
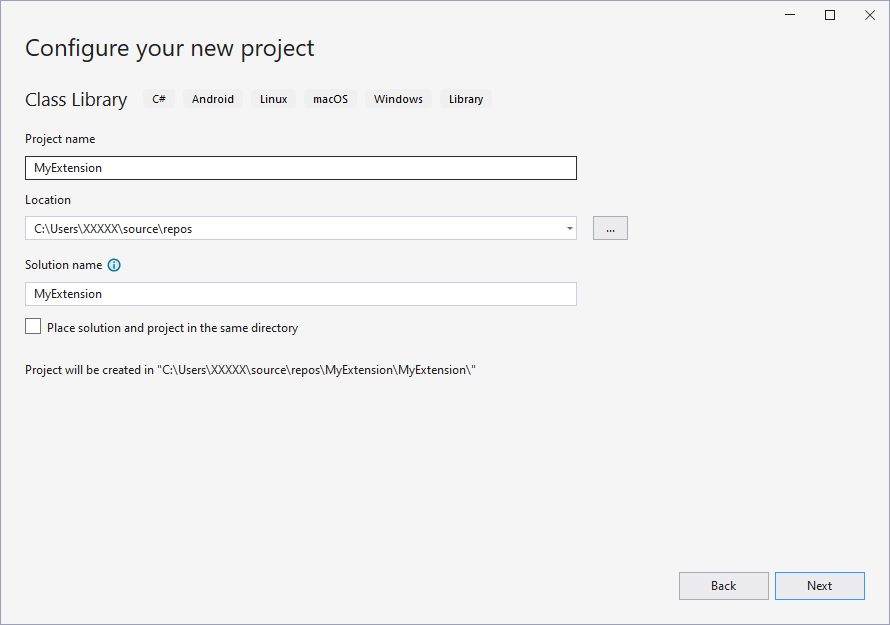
- Create a new project for C# class library development by running "Create New Project" in Visual Studio.
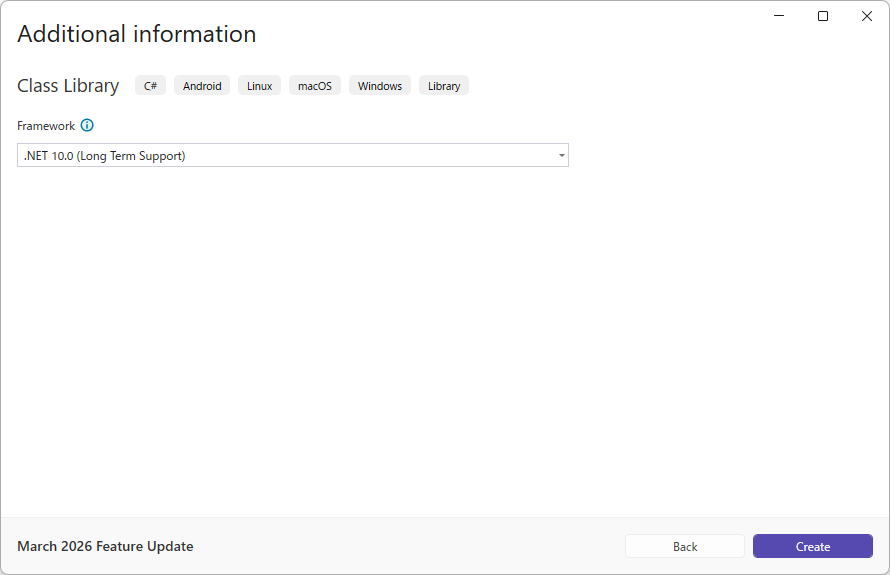
- Select [.NET 10.0] as the framework.
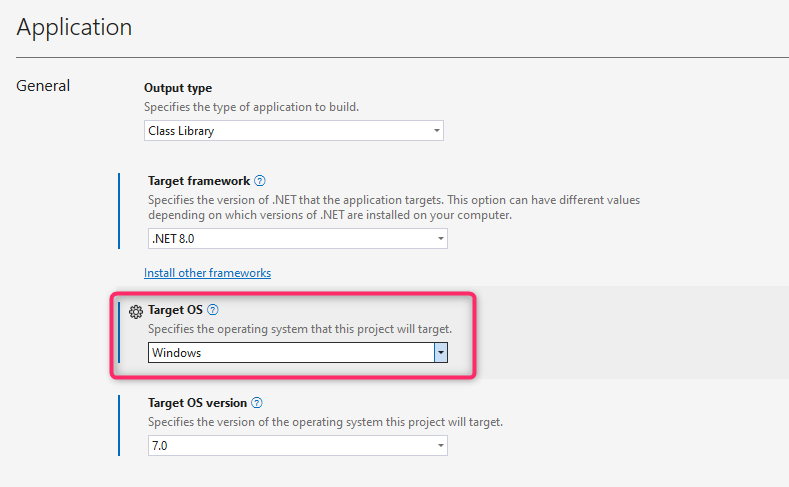
Set the target OS
In the project properties, set the target OS to "Windows".
Register the DLL for extension development
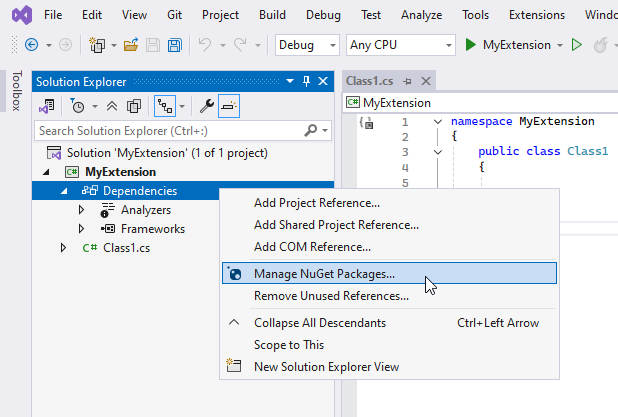
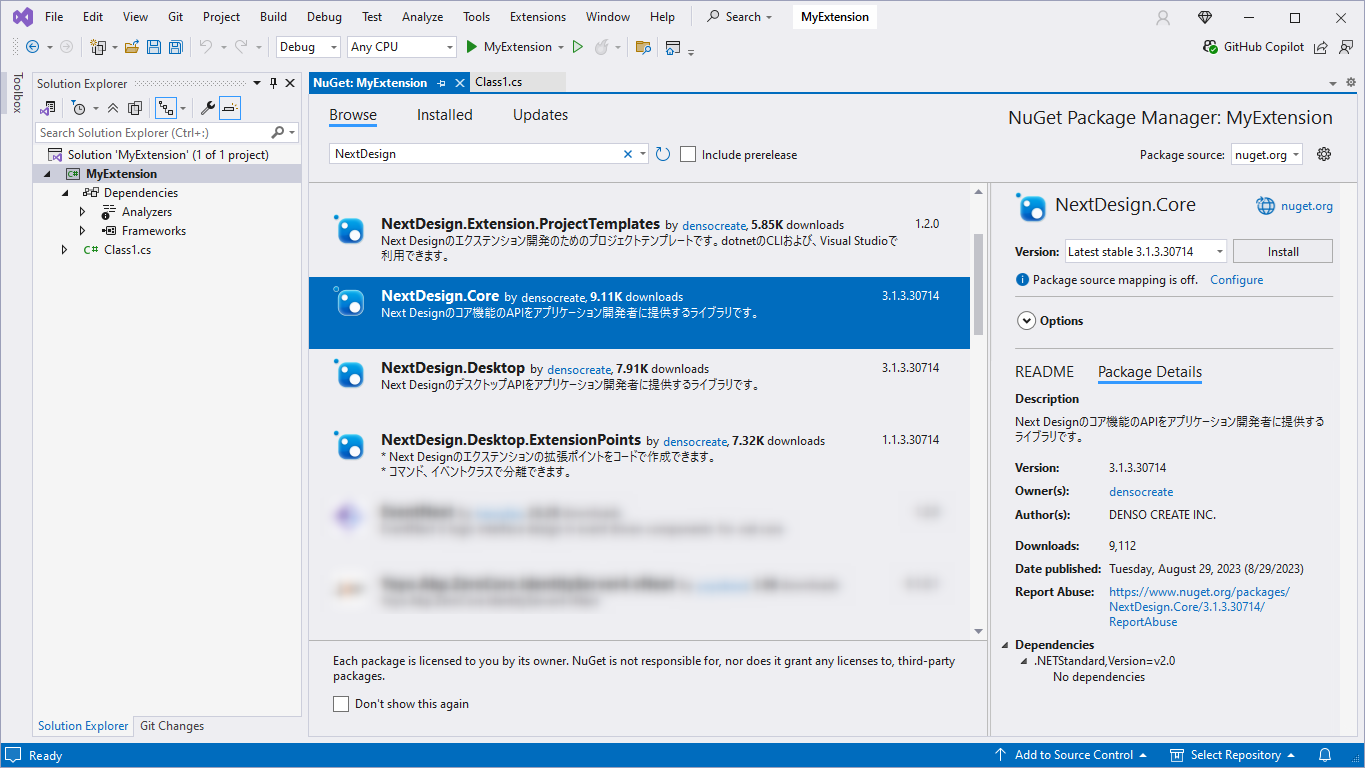
Obtain the following DLL as a NuGet package. From the Visual Studio Solution Explorer, select the project's [Dependencies] and run [Manage NuGet Packages] from the context menu.
Ensure the package source is set to nuget.org, and in the [Reference] tab, enter NextDesign and search. The following packages will appear; install them.
NextDesign.Core
NextDesign.Desktop
If the version of the above DLL referenced in the extension development project does not match the version of the same DLL installed in the execution environment where the extension is distributed, the extension may not function correctly.
Manifest File
Next Design extensions require one file named manifest.json. This is called a manifest. Next Design extensions define their extension points in the manifest file (manifest.json). This manifest should contain the following definitions:
- Extension Overview
- Entry Point File Name
- Lifecycle
- Extension Points for UI, Events, and Commands
{
"name": "MyExtension", //Specify a unique name to distinguish the extension.
"main": "MyExtension.dll", //Specify the file name of the DLL in which the extension (the IExtension implementation class) is implemented.
"lifecycle": "application", //If the extension is valid from application startup to shutdown, use "application",

"extensionPoints": {
...
}
}
- When you create a project using a project template, a manifest file with pre-configured DLL file names, etc., is automatically created.
- If you create a project manually, please create the manifest file using the following steps:
- In the Visual Studio Solution Explorer, add a JSON file as a new item to the project and specify the name
manifest.json. Use UTF-8 for the character encoding of the manifest file. 2. In Solution Explorer, selectmanifest.jsonand set the "Copy to Output Directory" property to "Copy Always" to ensure it is copied during the build process. - Define the contents of the manifest file.
- Specify a unique name for all extensions in
name. Defining it likeMyCompany.MyExtensionwill reduce the likelihood of conflicts. - Specify the DLL file name where the extension (the IExtension implementation class) is implemented in
main. - For
lifecycle, specifyprojectif the extension targets a specific project, andapplicationotherwise.
For details on manifests, please refer to the Manifest Reference.
Prepare Locale Files (Optional)
- If you want to make the extension multilingual, define a locale file named
locale.{lang}.jsonfor each localization language. - For details on multilingual support, please refer to Multilingual Support.
Changing Project Settings (Optional)
Extensions can utilize the System.Windows.Forms namespace.
To use it, set the UseWindowsForms attribute in the project file to true.
If the UseWindowsForms attribute is not set to true, the System.Windows.Forms namespace cannot be used, resulting in a build error.
<!--csproj settings-->
<Project Sdk="Microsoft.NET.Sdk">

<PropertyGroup>
<TargetFramework>net6.0-windows</TargetFramework>
<UseWindowsForms>true</UseWindowsForms>
</PropertyGroup>

</Project>