Prepare for review
Overview
This section shows the contents that need to be prepared in advance to use this function.
It can be broadly divided into the following three steps.
- Associate with Lightning Review and Next Design.
- Prepare a review file template.
- Create a review file (before conducting the review).
For instructions on how to use Lightning Review, please refer to "Lightning Review User's Manual".
Associate review folder with Next Design project
The contents of the review are saved in a review file (.revx format).
Before reviewing, please specify the folder where you want to save the review file.
When conducting a review from Next Design, a review folder must be associated in advance.
The review folder is set as the default folder for open models.
- Click the [Linkage Settings] button in the [Review] menu.

- Open the folder you want to specify in the dialog that appears, and click the [Select Folder] button.
- Specify the folder created in "Create review file template".
By making this setting, you can use the following functions.
- Using template files:
A "Templates" folder will be created under the folder specified here to store templates. - Confirm review points:
Specify the folder to be checked. For details, please refer to "Checking review issues".
- Please do not delete this information as it is necessary for collaboration.
- Since the file is referenced using a relative path, sharing this file allows different users to have the same settings.
Precautions when using with multiple teams/members
Operation can be divided according to the usage case as shown below.
-
If you want to share the review file settings with your team
Please include all files including the ".LR" folder as targets to be managed by the configuration management tool.- Example) Placing the repository in a cloned folder.
- If you use Git, "LRMerge" works, so you can use it conveniently.
-
If you want to separate review file settings by team
- This applies when multiple teams use a single Next Design project.
Example: Team A and Team B work together, but the review and analysis methods are different between Team A and Team B
Since there is only one ".LR" folder, only one setting information can be retained during normal operation, even when used by multiple teams. - [Workaround] If you are using a version control tool such as Git or Subversion that deploys a repository on an individual PC,
By not registering the ".LR" folder in the version control tool, you can separate configuration files for each user.
Specifically, it is as follows.Even if a member of the A team changes the settings, it will not affect the members of the B team.- For Git: Add one of the following to .gitignore of the Git repository.
* _projectsetting.json<br/>
.LR/<br/> - For Subversion: Do not register anything under the ".LR" folder.
- For Git: Add one of the following to .gitignore of the Git repository.
- This applies when multiple teams use a single Next Design project.
Creating a review file template
The review file that records review issues includes information on the type and participating members for analyzing the issues.
You can create a template in advance to save yourself the trouble of entering information each time.
You can start reviews smoothly by creating a review file template in advance by following the steps below.
Lightning Review - Prepare a template
Store the created template in the "Templates" folder in the folder associated with the Next Design project.
It is convenient to prepare templates for each review target or process.
Create review file
Before conducting a review, create a review file and load the Next Design model information.
By using pre-prepared review file templates, you can start reviewing deliverables without any hassle.
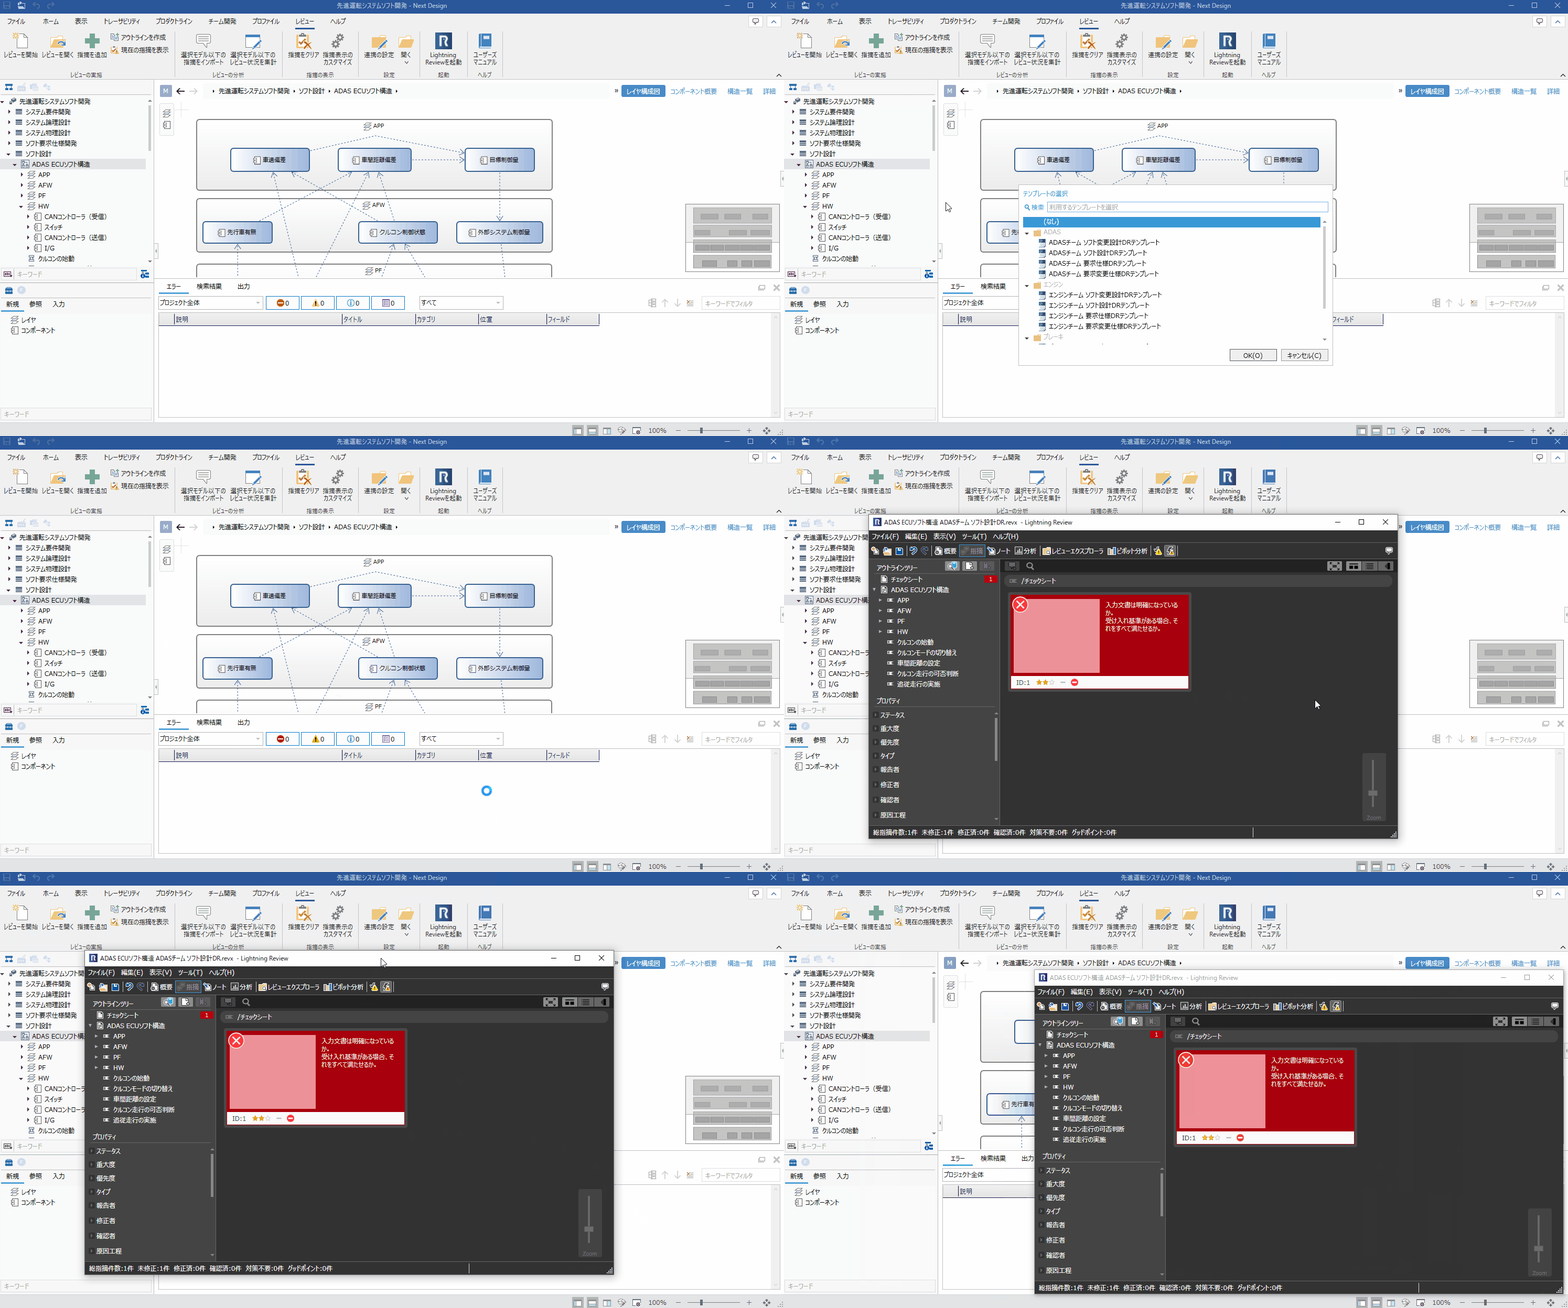
- Select the review target on the Next Design model and click the [Start Review] button on the [Review] menu.
- From the template selection screen, select the review template you want to use and click OK.
- Set the save destination for the review file and click [Save].

The above operations will automatically register the Next Design model in the review file and create a review file with outline analysis.
Create a review file for each selected model.
You can manage issues for a single Next Design model by dividing them into multiple review files.
Notes on outlines
-
When you add an issue from the review tab in Next Desgin, it will be registered in the corresponding document or outline in Lightning Review.
Now, the following will be added to the bottom document (or outline) in Lightning Review's outline tree:- Associated with the same Next Design model.
- The path of the target document or outline matches.
-
Next Design operates in the following cases, and when you reopen the project file, the model becomes unloaded.
- Split into multiple model files
- The model load setting is set to "manual load".
If you perform outline analysis on the model in this state from Next Design, the outline in Lightning Review will be displayed as (not loaded).
If you want to generate an outline correctly, please load the model in advance or set the loading setting to "autoload" and perform outline analysis.
Add outline
If you want to perform outline analysis on the model below the selected node and add the outline to the review file, please proceed as follows.
- Open the review file from [Open review file]
- Select the Next Design node and click [Create Outline]