Quick Start
Overview
Installing the TimingChart package adds the following screen components, allowing you to edit timing charts in Next Design.
- [Profile] > [Metamodel] > [Timing Model] is added to the ribbon.
- You can add timing models to the package from the Profile Navigator.
The following explains how to start modeling timing charts using the TimingChart package, in the following order:
- Install the TimingChart package
- Start modeling in your current project
Install the TimingChart Package
To prepare for using Timing Chart, install the TimingChart package using the following steps.
- Install the [TimingChart] package from [DENSO CREATE OFFICIAL] according to the following manual.
- After installation, restart Next Design and the TimingChart package will be available.
:::caution: What to do if plantuml.jar cannot be executed
If the "PlantUML" runtime environment required to use the TimingChart package is not set up, the following error message may be displayed and you may be unable to edit timing charts.
The program plantuml.jar could not be executed. Please check that it is installed correctly.
"PlantUML" (plantuml.jar) is included in the TimingChart package, but to run it, a Java runtime environment equivalent to Java SE 8 is required.
Please install Java SE 8 or equivalent according to the following manual.
:::
Start modeling in your current project
Follow the steps below to apply the Timing Chart profile to your current project to enable timing chart modeling.
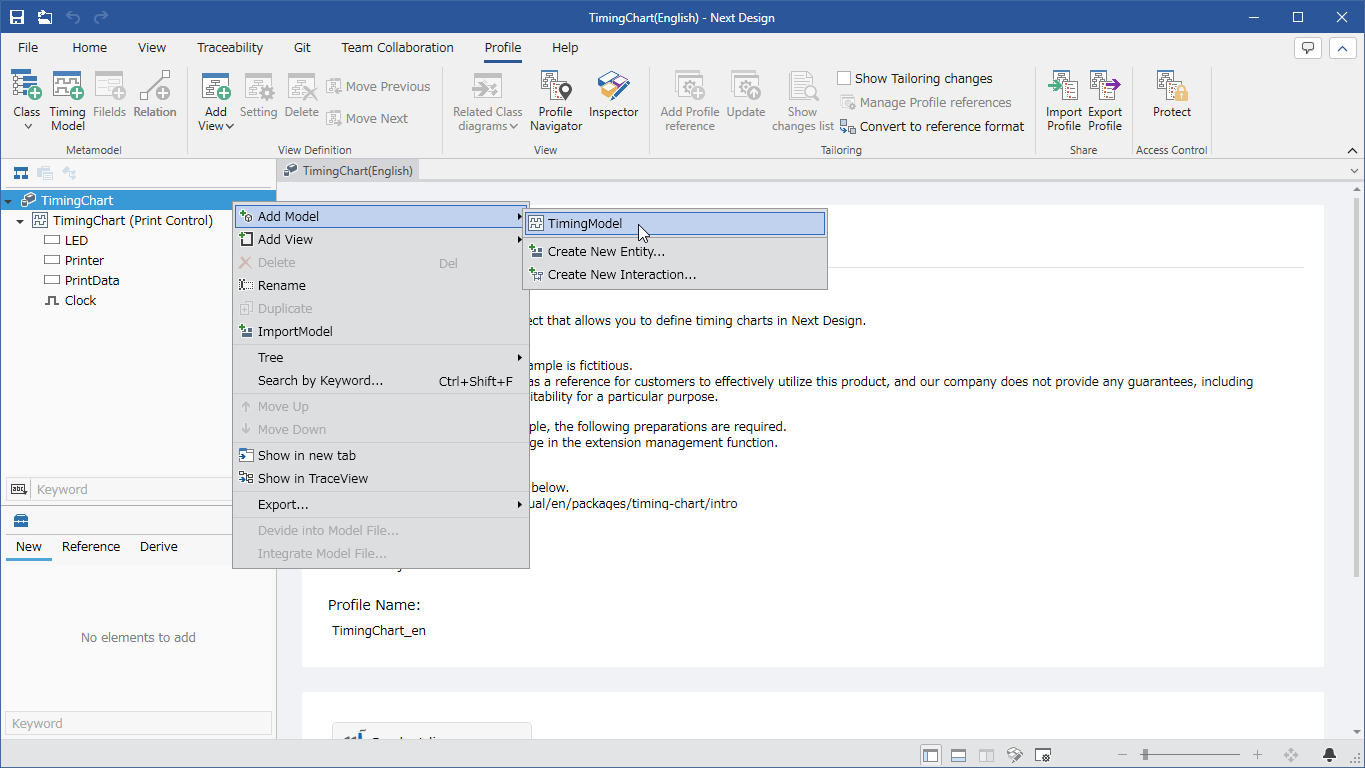
- In the [Profile] navigator, select the package to which you want to add the profile.
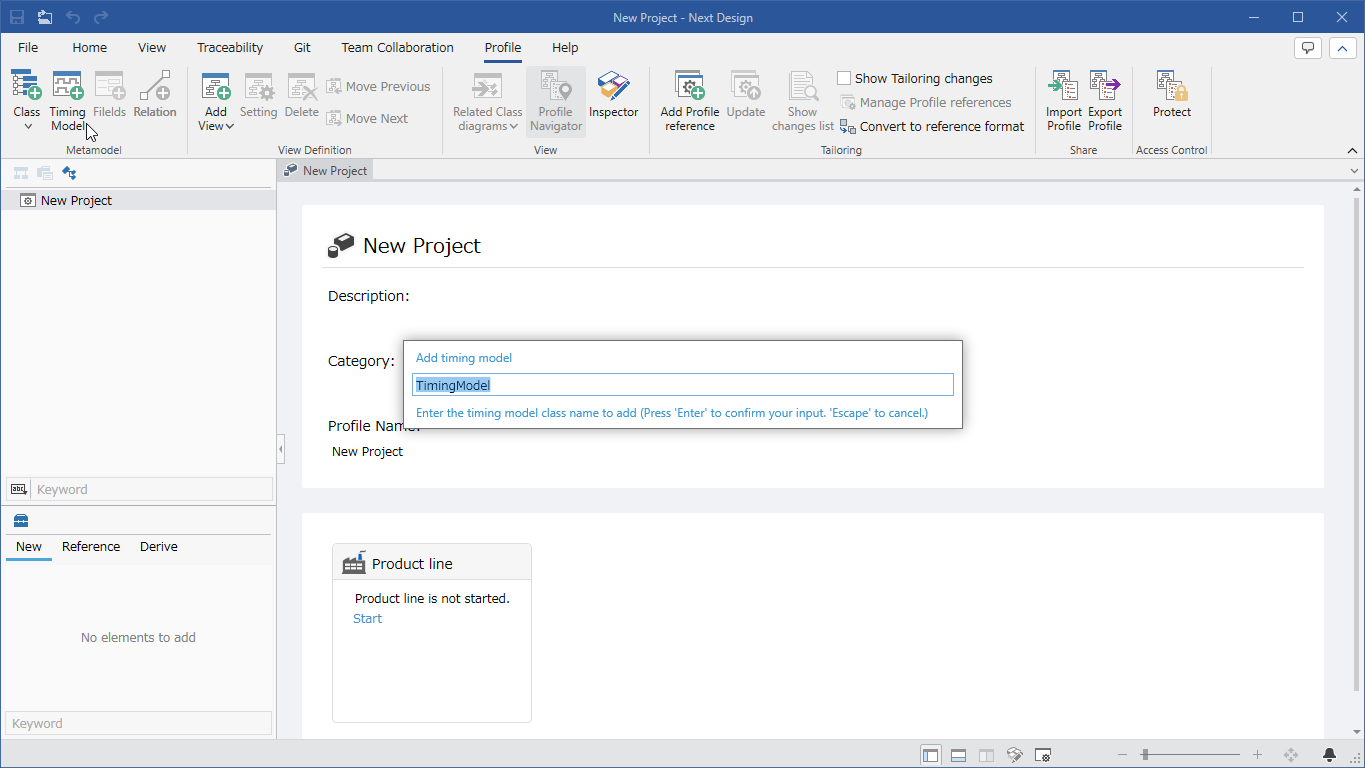
- Click the [Profile] > [Metamodel] > [Timing Model] button on the ribbon.
- A timing model metamodel for timing chart design will be added under the selected package.
- Timing models can be added to any package.
This allows you to add timing charts to multiple design models within a single project.
- Profiles added via the ribbon's Profile > Metamodel > Timing Model cannot be converted to reference format.
To add a timing model profile in reference format, use the ribbon's Profile > Tailoring > Add Profile Reference.