Quick Start
Overview
Installing the ReqIFIntegration package adds the "ReqIF" group to the "Data" tab on the ribbon, enabling the import of ReqIF files.
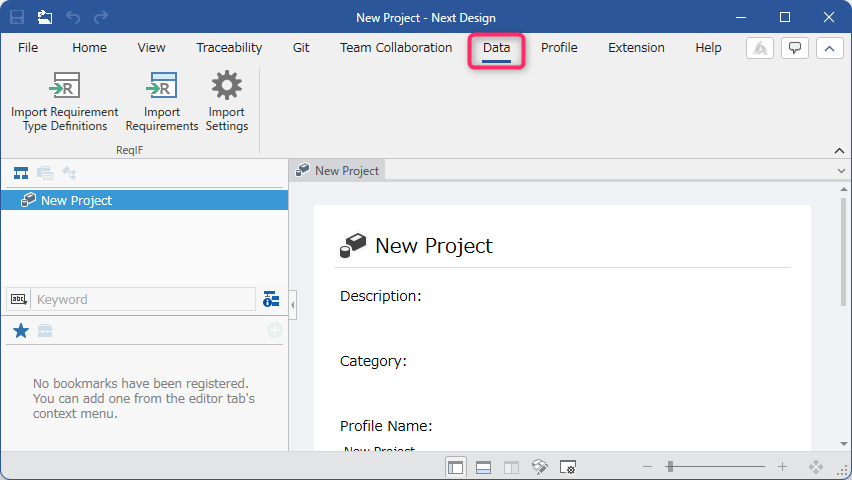
The following describes how to import requirement information contained in a ReqIF file (.reqif/.reqifz) into Next Design, in the following order:
- Install the ReqIFIntegration package
- Import requirement type definitions
- Import requirements
- Verify the results
Installing the ReqIFIntegration package
To prepare for using the ReqIFIntegration package, install the ReqIFIntegration package using the following steps.
:::note: Operating Procedure
- Install the [ReqIFIntegration] package from [DENSO CREATE OFFICIAL] according to the following manual:
- After installation, restart Next Design. The ReqIFIntegration package will be available.
:::
For details on prerequisites, please refer to Installation Prerequisites.
Importing Request Type Definitions
Once the package is installed, you can convert the request types (SpecType) contained in the ReqIF file into the Next Design metamodel and create a view definition for viewing.
You can import request type definitions using the following steps.
:::note: Instructions
-
Open the target project in Next Design.
-
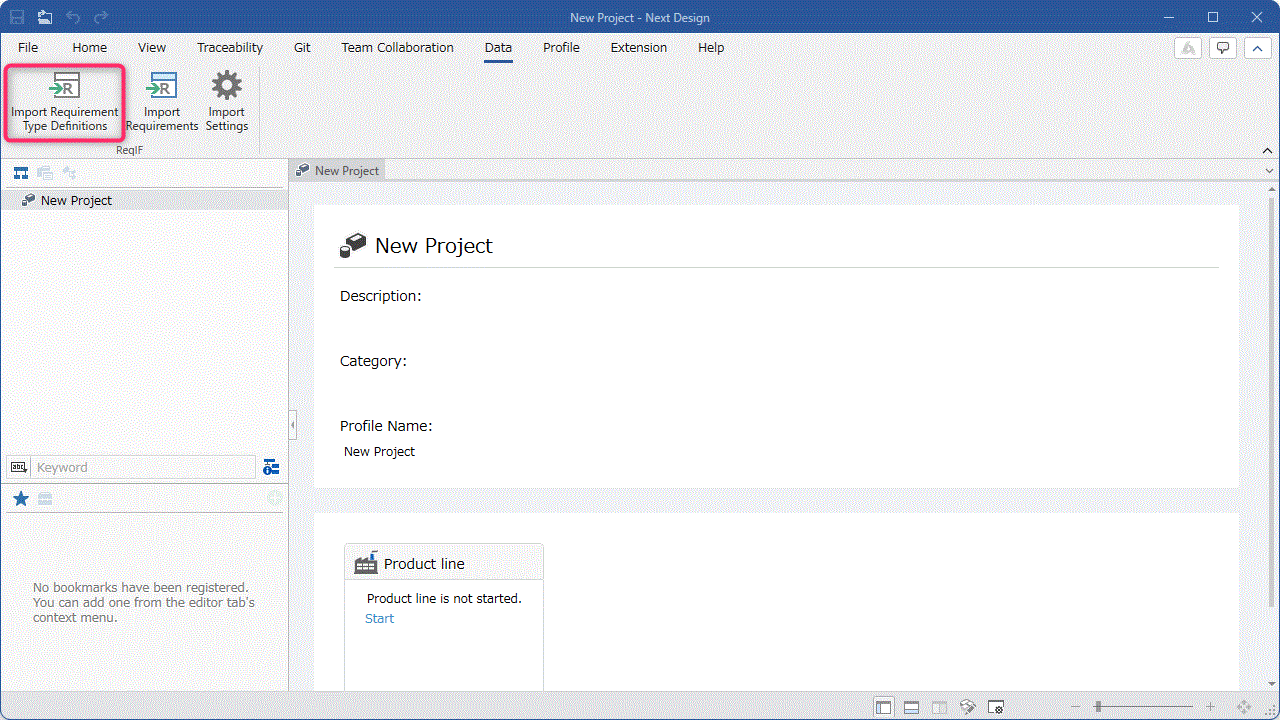
From the ribbon, click [Data] > [ReqIF] > [Import Requirements Type Definitions].
-
Select the ReqIF file and click [Open].
-
Check the created metamodel in the Profile Navigator.
-
Check the message output during import in the Output tab (Category [ReqIF Import]).
:::
"Import Requirements Type Definitions" modifies the metamodel (profile). Please execute this when the profile is editable.
Also, this cannot be executed if a newly created project is unsaved. Please save the project once before executing.
:::tip: Update Import
By repeatedly executing this on the same project, you can update the existing metamodel. If there are type definitions that have been removed from the ReqIF file, a deletion confirmation dialog will appear. See Import Overview for details.
:::
Importing Requirements
Once the package installation is complete, you can import requirement objects (SpecElementWithAttributes) contained in the ReqIF file as models in Next Design.
You can import requirements using the following steps:
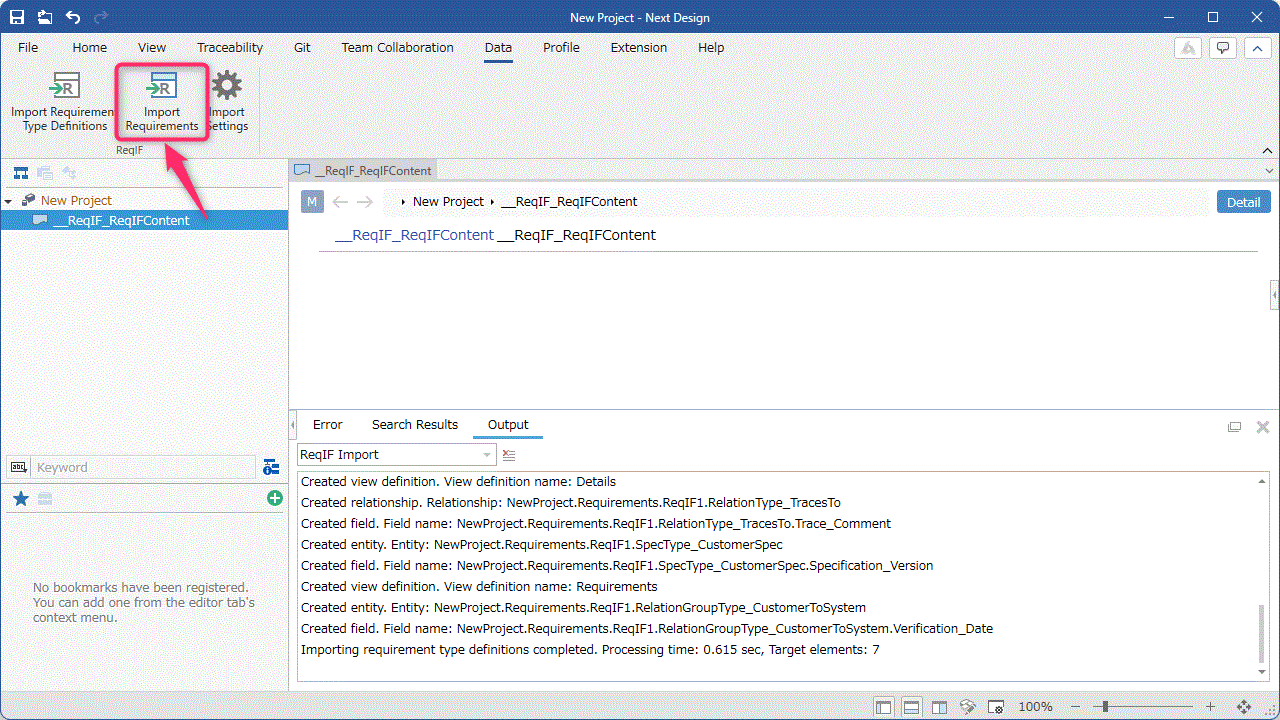
- In the Model Navigator, select the model of type "__ReqIF_ReqIFContent" introduced by type definition import.
- If there is no model of type "__ReqIF_ReqIFContent", please add a model.
-
From the ribbon, click [Data] > [ReqIF] > [Import Requirements].
-
Select the ReqIF file and click [Open]. 4. Check the models created or updated via import in the search results list.
-
If creation or updating fails, check the error list for the cause.
You can update existing models by repeatedly performing this operation on the same project. If there are requests deleted from the ReqIF file, a deletion confirmation dialog will be displayed, and changes in hierarchical position and order will also be followed. For details, see Import Overview.
For data where the Identifier changes with each update, you can change the search key in Import Settings.
Checking Results
Metamodels and Models Created by Import
| Check Location | Main Contents |
|---|---|
| Profile Navigator | Metamodels Created/Updated by Type Definition Import |
| Model Navigator | Models Created/Updated by Request Import |
| Search Results List | List of Models Created/Updated by Request Import |
Import Results and Errors
| Check Location | Main Contents |
|---|---|
| Output Tab (Category [ReqIF Import]) | Processing Results of Type Definition Import |
| Error List | Errors/Warnings When Creation/Update Fails |
For details, please refer to Checking Import Results Location.