Tree grid view definition
Overview
Next Design allows you to define a view for a tabular tree grid that can be collapsed or expanded according to the tree structure.
As with tree diagrams, you can display and edit only the entities you want to see according to the purpose, based on the metamodel definition of the model structure.
It is also suitable for modeling large-scale structured software because it can handle a lot of information on one screen.
- Entities that can be displayed as child nodes in the tree grid tree are entities that have an ownership, reference, or derived relationship with the parent node entity, just like in tree diagrams.
- Not only trees that represent the parent-child structure of models, but also trees that trace the relationships between models can be expressed.
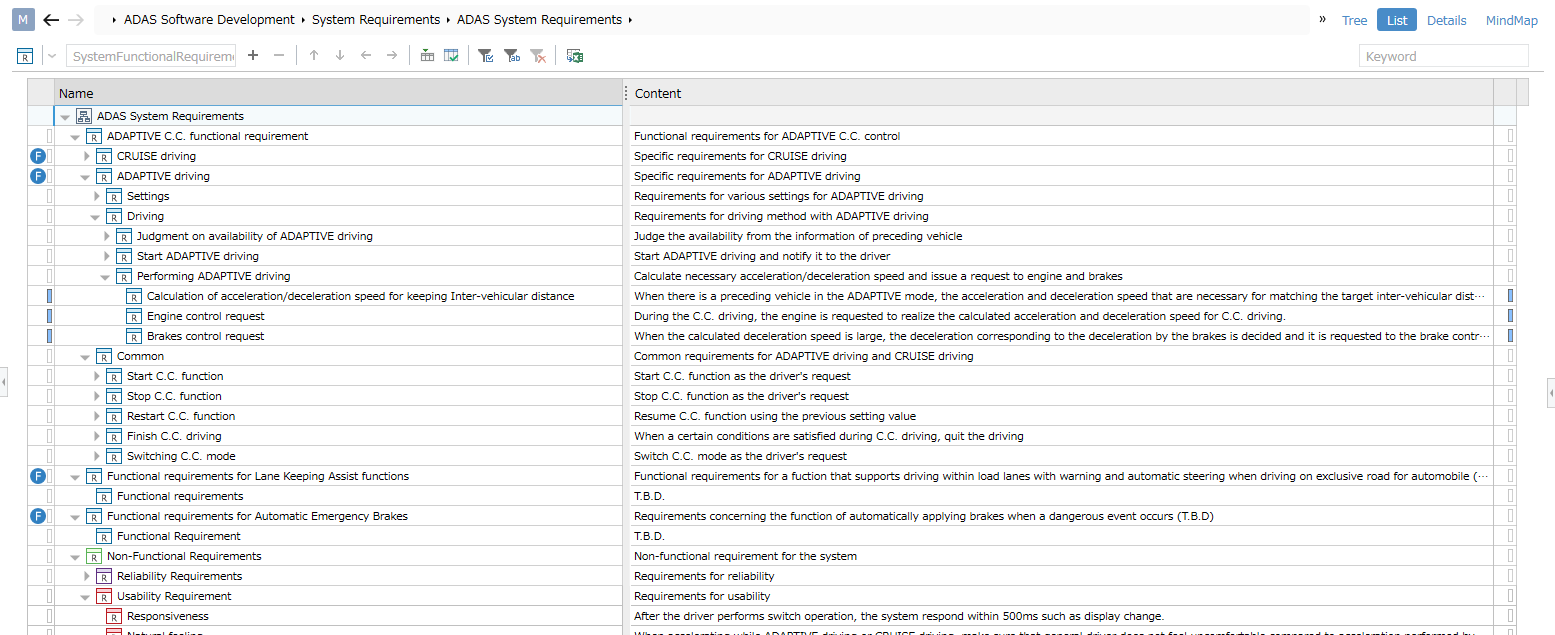
- The tree grid will only display models that are held in the related fields that you added in the view definition.
- Even if you have defined the hierarchical structure of your models in the metamodel, child nodes in the tree will not be displayed until you add related fields to the tree grid view definition.
The following describes how to define a tree grid view in the following order:
- Displaying child nodes in the tree
- Hiding child nodes from the tree
- Changing the display columns of the tree grid
Displaying child nodes in the tree
To enable the tree grid to dig down into the tree hierarchy and expand related elements of the model as child nodes, follow these steps:
- Select any cell in the grid row in which you want to expand a child node.
- Open the [New Control] dialog in one of the following ways:
- Click [Form] > [Form] > [Add Exist Fields] from the ribbon.
- Click [Profile] > [Form] > [Add Exist Fields] from the ribbon.
- Right-click and click [Profile] > [Add Exiting Field] from the context menu.
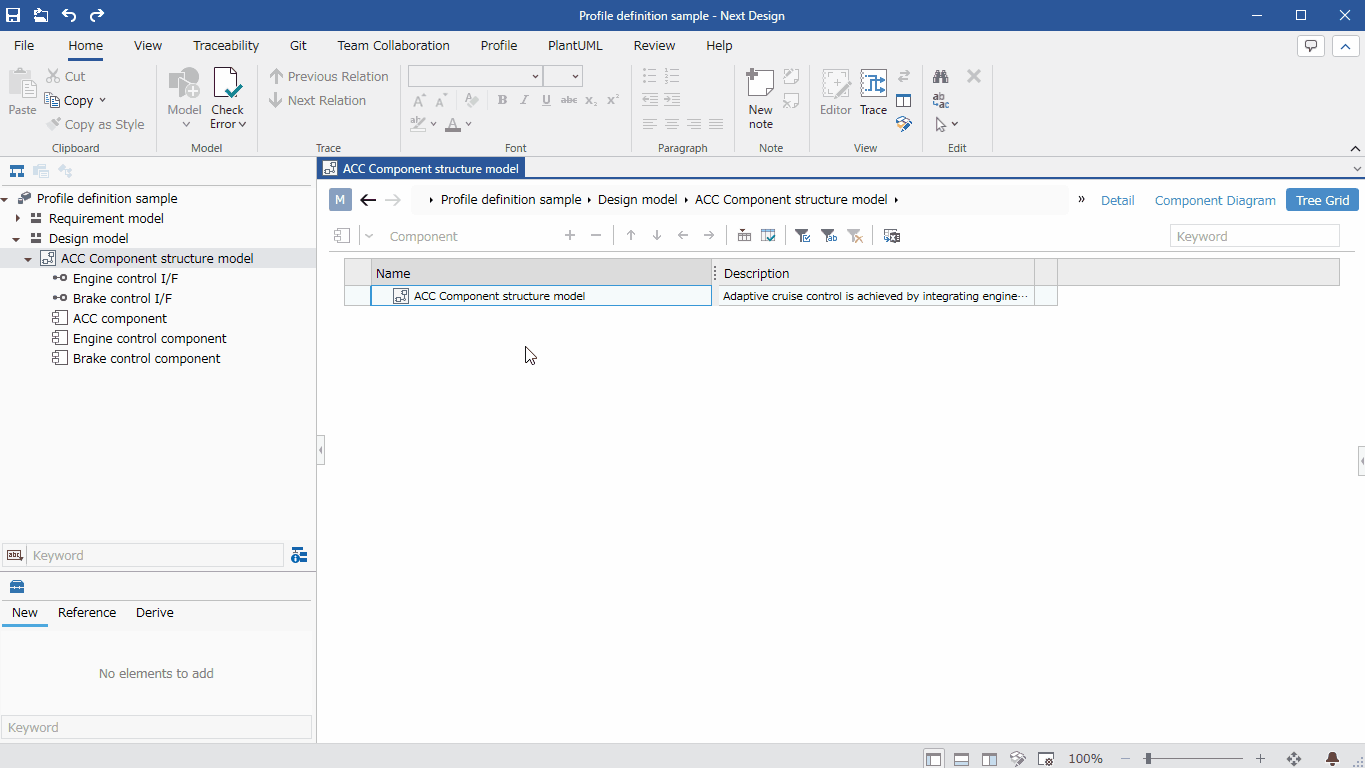
- Select the field that holds the related elements of the model from the [Fields] pull-down list in the [New Control] dialog, and press the [OK] button.
- If there are existing related elements, they will be displayed as child nodes and will be added to the left end of the toolbar at the top of the tree grid as a choice of entities that can be added.
- If there are multiple types of entities that can be added as related elements, you will need to add existing fields for each of those entities.
If you want to recursively set display information to child nodes for an entity with an owned self-relationship, follow the steps below.
Operation procedure
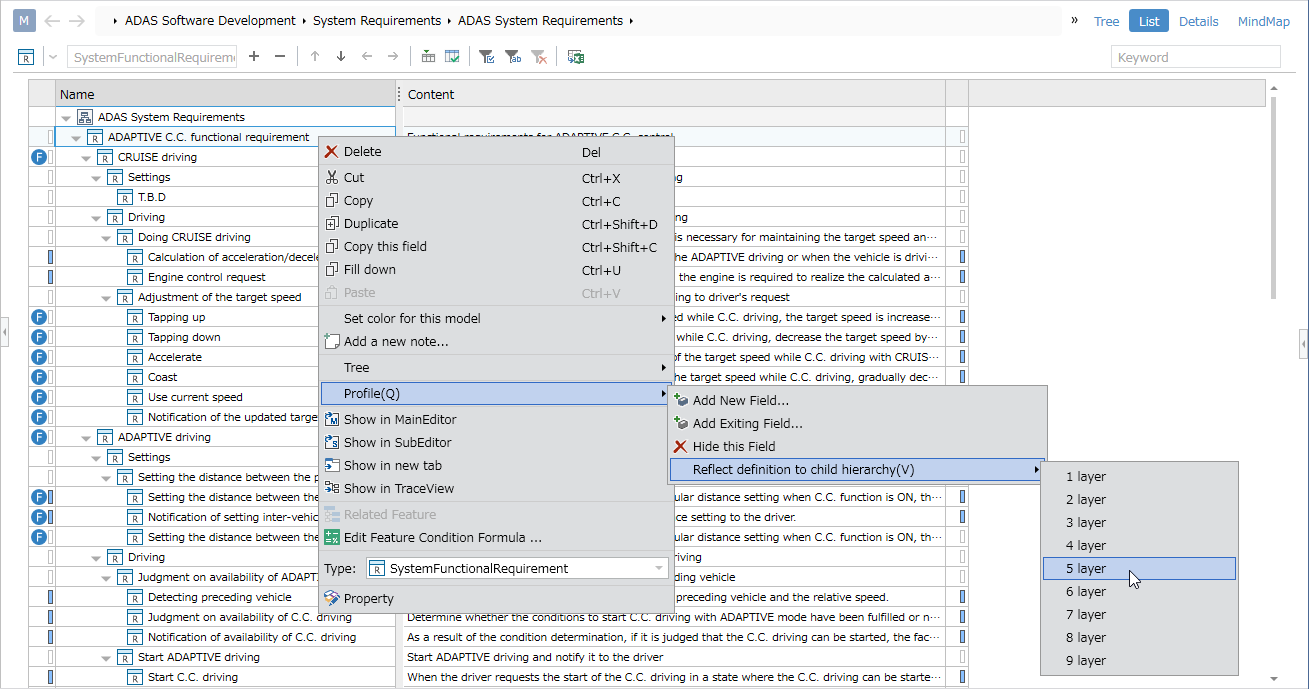
- Select any cell in the grid row for which you want to reflect display information recursively to child nodes.
- Right-click and hover the mouse over [Profile] > [Reflect definition to child hierarchy] from the context menu.
- The options are displayed in a list format, so click the number of levels for which you want to reflect recursively. The display information of the node in the selected row will be reflected recursively to the child nodes for the specified number of levels.
Hide child nodes from the tree
To hide child nodes displayed in the tree grid, follow the steps below.
- Select any cell in the grid row of the child node you want to hide from the tree grid.
- Right-click and click [Profile] > [Hide this Field] from the context menu.
- Sibling nodes that are held in the same related field will also be hidden at the same time.
Changing the displayed columns of the tree grid
To change the displayed columns of the tree grid, follow the steps below.

- Click the [Show/Hide columns] button on the toolbar at the top of the tree grid.
- In the [Column Visibility] dialog, check the columns you want to display in the grid and uncheck the columns you want to hide.
- After changing the columns to display in the grid, click the [Reflect in view definition] button and then click the [Close] button.
- To reflect the changed column configuration in the view definition, you need to have permission to edit the profile.
- If you do not reflect the changes in the view definition, the original column composition will be restored when you reopen the project.
- If the field corresponding to the column is not defined for the entity, the corresponding cell will be displayed in gray.
To change the column order and default column width in the tree grid, follow the steps below.
- Drag the column header left or right in the tree grid to rearrange the column order.
- Adjust the display width of each column in the tree grid.
- Click [Form] > [Grid] > [Set Column Composition to View Definition] from the ribbon.
- To reflect the changed column order and column width in the view definition as the default value of the tree grid, you need to have the edit permission for the profile.
- If you do not reflect the changes in the view definition, the original column order and column width will be restored when you reopen the project.