Editing the Tree Grid
Overview
Next Design's tree grid allows you to display many models vertically in a tree view, while simultaneously displaying each model's design items horizontally in columns.
This makes it ideal for viewing and editing specific design items side-by-side while maintaining a bird's-eye view of the hierarchical structure of a large model.
The following explains editing operations in the tree grid in the following order:
- Adding a Model
- Moving a Model
- Editing Fields
- Collapse the Tree
- Filtering
- Coloring a Model
- Adding Notes to Cells
- Exporting to Excel
- You can temporarily change the displayed columns in the grid, but the change is not saved.
- You can customize the initial displayed columns in the grid in your profile.
Adding a Model
To add a model as a row in the tree grid, follow these steps:
- Click the row of the parent model in the tree grid to select it.
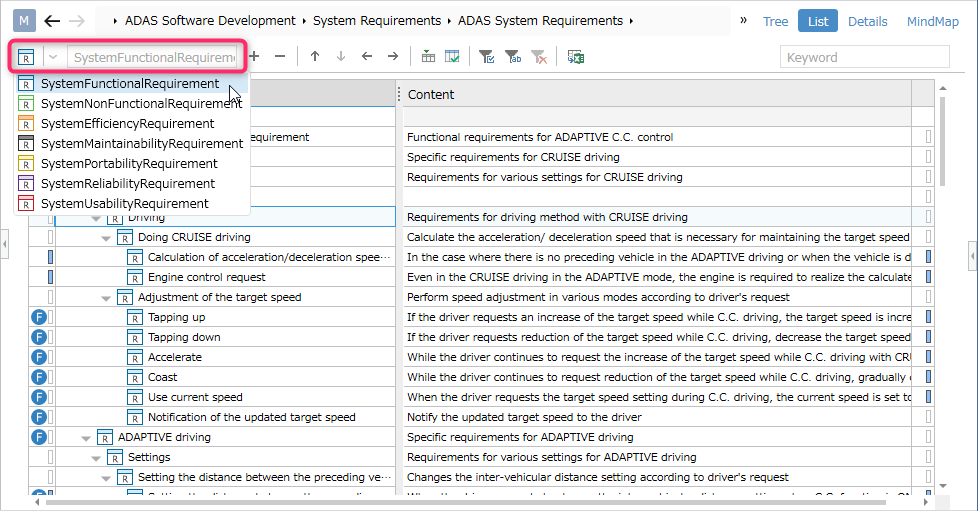
- Open the leftmost drop-down list in the toolbar above the tree grid and select the entity you want to add.
- Enter the name of the model you want to add in the text box to the right and press Enter. The new model will be added as the last child of the selected model.
Moving a Model
To move a model displayed as a row in the tree grid to change its hierarchical structure or order, follow these steps:
- To move a model to a different parent and change its hierarchical structure, drag the model you want to move and drop it on the new parent model.
- To change the order of sibling models, select the model you want to move and do one of the following:
- Drag and drop it between the sibling models you want to move it to.
- Press alt+up or down.
- Click the [Order Up] or [Order Down] button in the toolbar above the tree grid.
- To move a model up or down a hierarchical level, select the model you want to move and do one of the following:
- Press alt+left or right.
- Click the [Outdent] or [Indent] button in the toolbar above the tree grid.
- Models in the same hierarchy are displayed categorized by entity, so they cannot be moved between different entities. You can customize the order of entities in your profile.
- When moving an entity that changes the hierarchical structure, it is only possible if the entity you want to move can be added to the parent entity of the destination.
Editing Fields
To edit model fields displayed as tree grid columns, follow these steps:
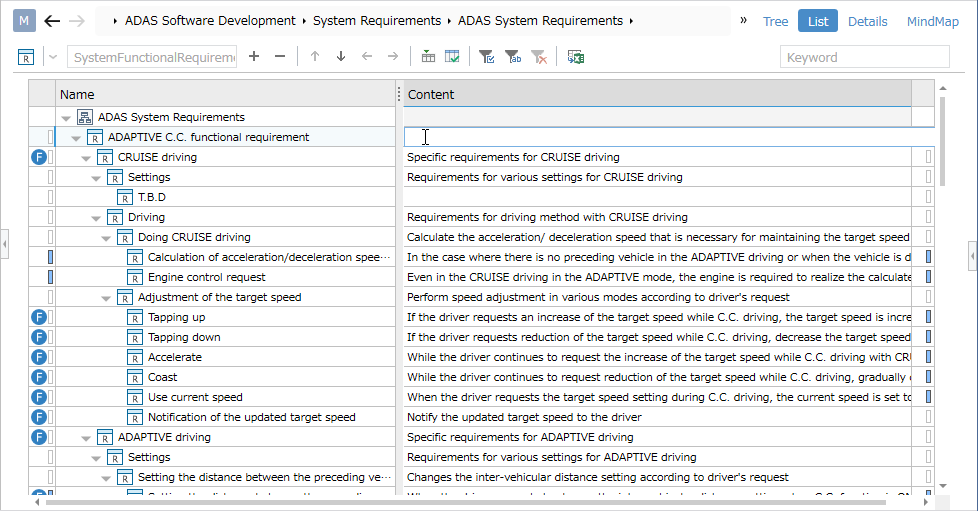
- Click or double-click a cell in the model row and field column you want to edit in the tree grid to select it.
- The field will be in edit mode, so edit the field and confirm.
To improve field editing in the tree grid, the following editing features are provided.
This allows you to edit fields assigned to cells with an Excel-like experience.
- Autofill
- Copy the value of the selected field
- Reflect the value of the cell above
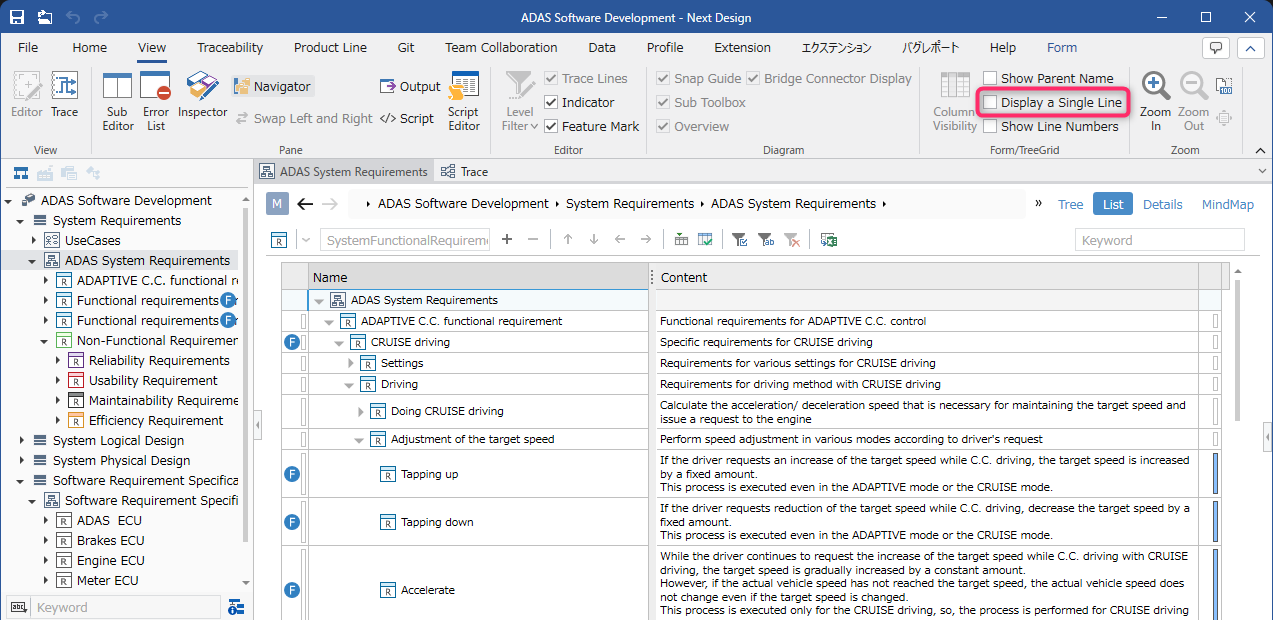
Fields in the tree grid can be displayed on multiple rows.
To display fields in multiple lines, deselect the [View] > [Form/TreeGrid] > [Display a Single Line] checkbox on the ribbon.
- Values copied by copying the value of the selected field cannot be pasted into Next Design in another process.
- Values copied by copying the value of the selected field can only be pasted while the project is open.
- If you copy a rich text field by copying the value of the selected field, the formatting will be included in the copy.
- When pasting a value into a reference field, an association is created and pasted, rather than simply pasting the string.
This association is created by maintaining the field values common to the source and destination classes. The multiplicity and path constraints of the destination field are also taken into account when pasting.
Collapsing the Tree
To collapse or expand the tree, follow these steps:
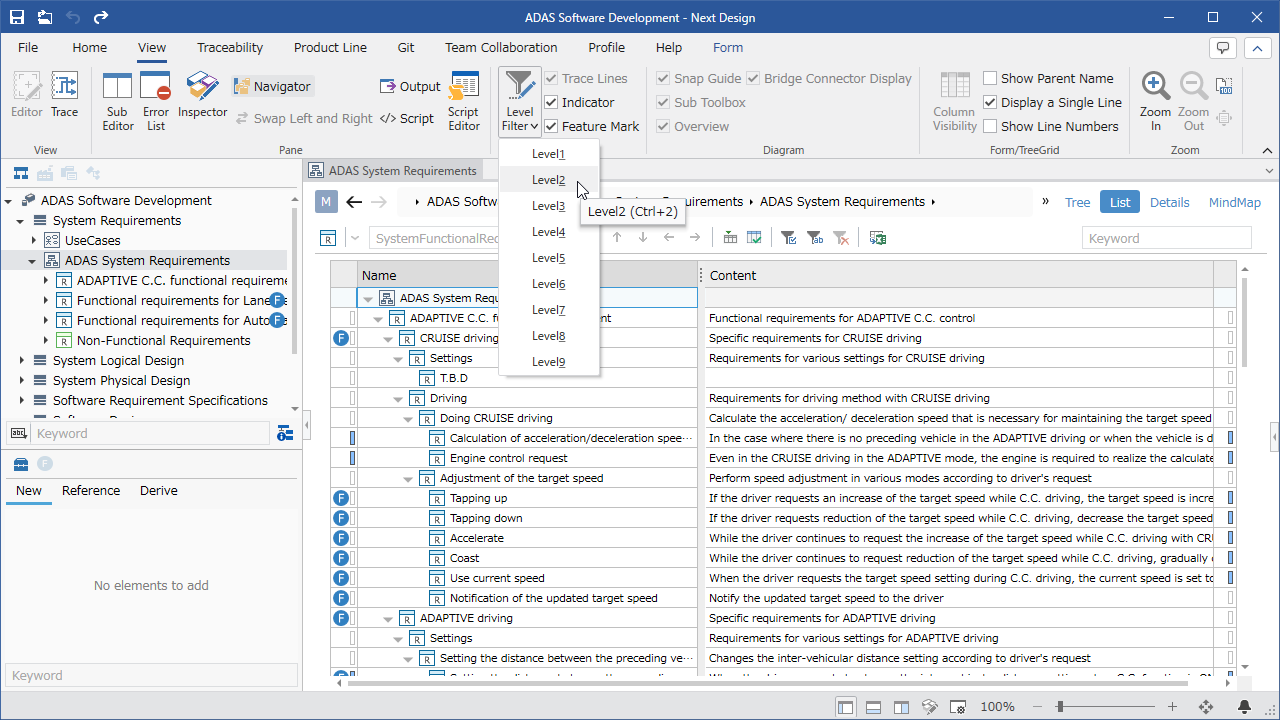
- To toggle the expansion state of individual child nodes in the tree, click the [▲] icon to the left of the model icon.
- To globally change the expansion level of the entire tree, click the desired hierarchical level from [View] > [Editor] > [Level Filter] on the ribbon, just like with tree diagrams.
- When using [Level Filter] on the ribbon, first switch to the tree grid by clicking on it.
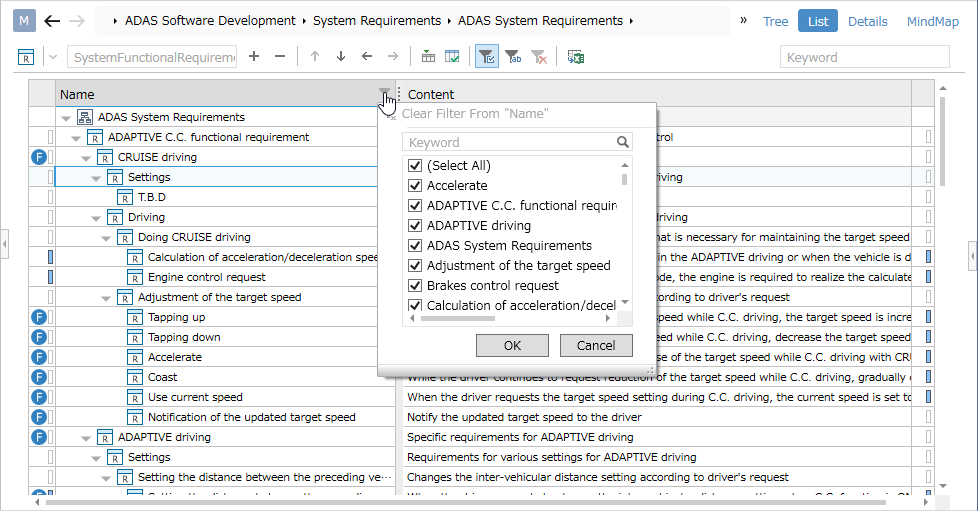
Filtering
To filter to display specific row elements, follow these steps:
Filtering a column by keyword
- Click the [Filter Column by Keyword] button on the toolbar above the tree grid.
- A filter row will appear at the top of the tree grid. Enter the [Keyword] string for the column of the field you want to filter.
- Only row elements with field values that match the entered string will be displayed in the tree grid.
- You can filter for exact matches by enclosing keyword strings in double quotes.
- You can filter using AND conditions by separating keyword strings with spaces.
- You can filter using OR conditions by separating keyword strings with commas.
When filtering using a combination of AND and OR conditions, the AND condition is applied first, followed by the OR condition. Please note that conditions are not evaluated in order from left to right.
To filter columns from options
- Click the "Filter columns from options" button on the toolbar at the top of the tree grid.
- An icon will appear in the title row at the top of the tree grid; click the icon.
- The options will be displayed; enable the checkboxes of the options you want to display and click the "OK" button.
- Only row elements with enabled options will be displayed in the tree grid.
Setting Color for the Model
To set a color for a model (tree grid row), follow these steps:
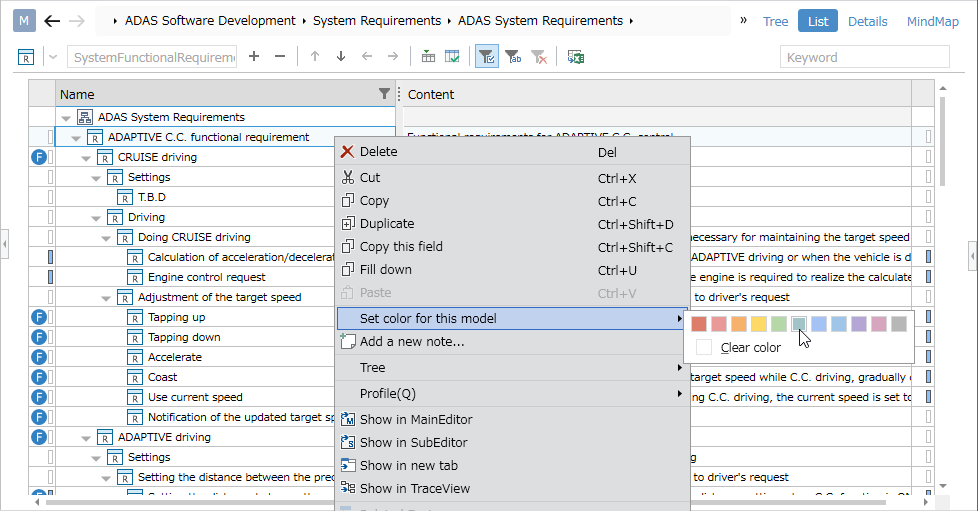
- Click the row in the tree grid you want to set a color for to select it.
- From the context menu, select "Set Color for This Model" and click the color you want to set.
Adding a Note to a Cell
To add a note to a cell, follow these steps:

- Select the cell to which you want to add a note in the tree grid.
- Do one of the following:
- Click Home > Note > New Note on the ribbon.
- Click the Add New Note command in the context menu.
- In the New Note dialog box, enter the note and click OK.
- Note changes will not appear as differences when checking model change differences.
- Notes will not be copied if you copy or duplicate a model to which you added a note.
- If you redefine a field to which you added a note in an inherited class (or delete a redefined field), the note will no longer be displayed.
- If you delete a redefined field, any notes that were previously hidden will reappear.
- If you convert a profile to a reference format, notes added to fields defined in the base profile (except the Name field) will not be displayed.
If you delete the field corresponding to a cell to which you added a note, the note will no longer be displayed, but the note information will remain in the file. To delete notes that are no longer displayed, run [File] > [Information] > [Managing project files] > [File cleanup] from the ribbon tab.
Export to Excel format
To export to Excel format, follow these steps:
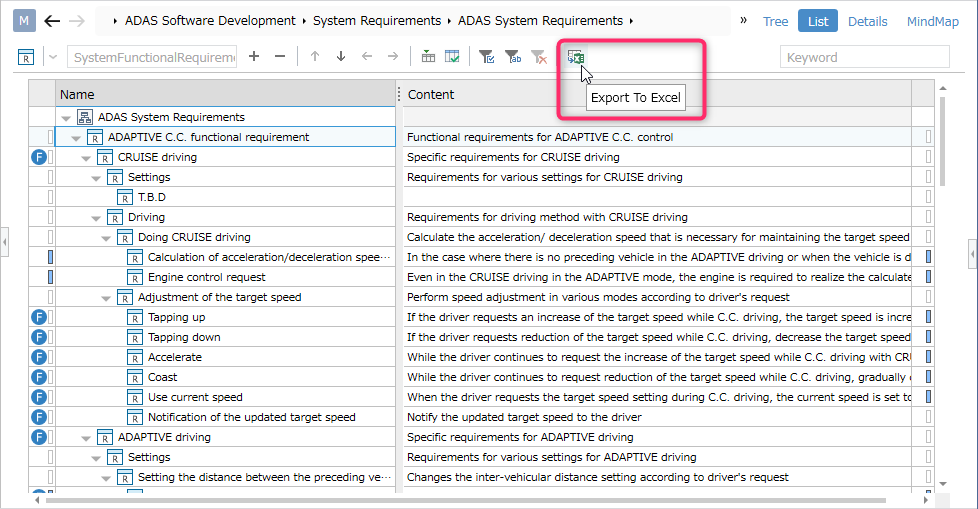
- Click the [Export to Excel] button on the toolbar above the tree grid.
- In the [Export to Excel] dialog box, enter a save location and file name, and click the [Save] button.